
3D Mouse
Author: ROMAN3D,
Creating a 3D Mouse
This project was carried out in several stages. The goal was to create a 3D character that could be animated for a production using Autodesk Maya software.
Project completed as part of ESRA (Rennes, Brittany)
A complete project …
This project was divided into several modules:
- Modeling of the character
- Creation of its textures and materials
- Creation of the Rig (character’s skeleton)

Character Modeling
Modeling is one of the crucial stages of the project. Like a sculptor, you bring matter to life. However, many constraints are added to this process. Indeed, creating a 3D object requires a certain expertise, as you need to master the different software you use. Moreover, an animated character does not have the same requirements as creating a static object. All construction stages must be meticulously thought out to avoid any issues in the subsequent phases.
To do this, you need to start with the sketching stage. And yes ! It is highly recommended. Several research drawings of your future creation will allow you to visualize and avoid many construction errors.

For your information, the creation of a complete character that can be animated takes a minimum of 5 working days. This depends, of course, on the level of the employee(s) mobilized to build it.
For the creation of this mouse, the choice of two software: Maya (Autodesk) which allowed for the base modeling, and then a passage through ZBrush (Pixologic) to accentuate the details. The bridge between these two software is quite well designed and functional. But it’s necessary to maintain an optimized model and calculate the Normal Map and Displacement Map to give an illusion of these details on a Low Poly creation (with few polygons).

Materials and Textures
Like a painter, on ZBrush, you paint and add details to your creation. First, creating a UV unwrap of your sculpture is necessary. This crucial step allows your 3D software to apply a spatialization of a flat image composed of different pixels onto your 3D model.
In order to save precious time on the final render calculation by computer and reduce creation time, the animal’s fur was painted and sculpted directly on ZBrush.
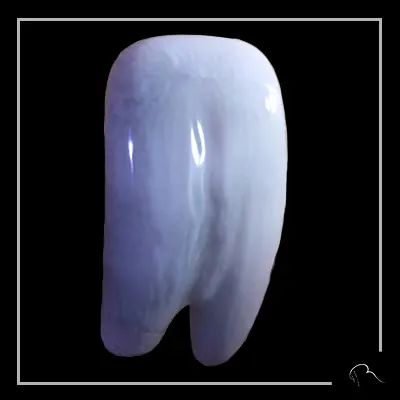
Several elements make up this character: the body, teeth, eyes. For each of these elements, it was necessary to create their UV unwraps, as well as their materials. Regarding the body and teeth, it was interesting to opt for the use of SSS (Sub Surface Scattering). This material requires much more work to be operational and calculation at the time of final rendering, but it allows for a closer approximation to reality.
Tooth Render
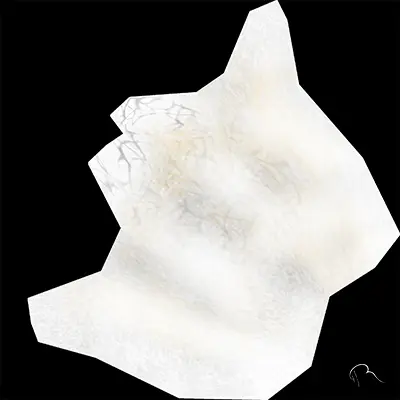
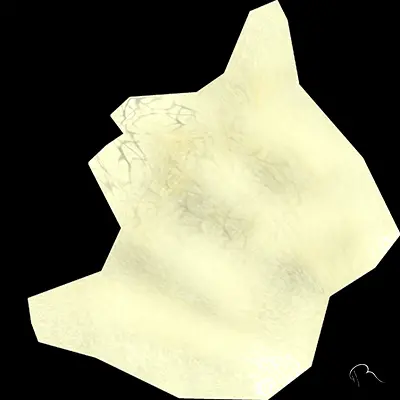
Texture Map
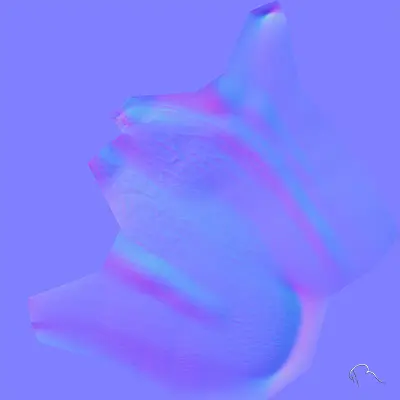
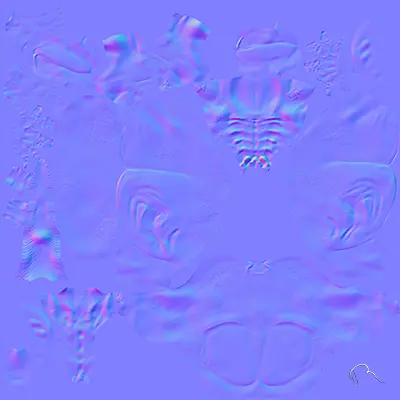
Normal Map
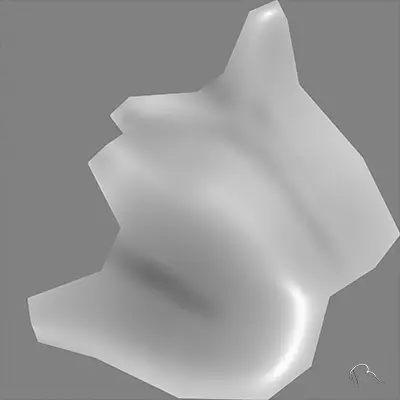
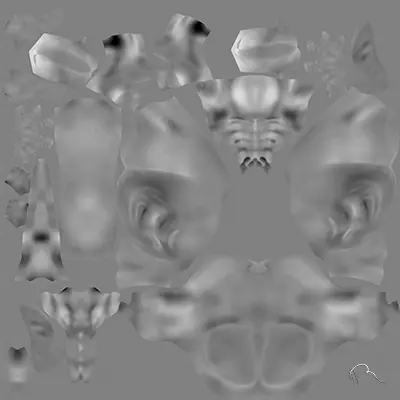
Displacement Map
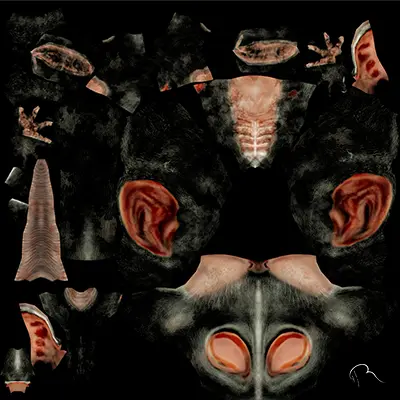
Scatter Map
Overall Map

Diffuse Map

Initially, the idea was to create photorealistic eyes; however, during the creation process, a more cartoon-like effect was necessary. The goal was to make the animal look sad and inspire pity. This was no easy task. Their arrangement, as well as their materials, needed to express this sorrow. Dreamworks’ Puss in Boots was an excellent source of inspiration. His sad look with deep black eyes to get what he wants from his prey was the solution to the problem. All that remained was to bring it to life.
Mouse Render

Texture Map

Normal Map
Displacement Map
Subdermal Map
Specular Map

Back Scatter Map
Creating the Rig
This step is certainly one of the most tedious. The Rig allows for creating the character’s skeleton to animate it later, like a puppeteer animating their puppets. Even if the bones used don’t visually resemble human or animal bones, they must be created in a highly hierarchical way that encompasses a multitude of steps that must be meticulously carried out. This requires numerous project saves for the sole purpose of being able to easily return to a previous step in case of software bugs or frequent blockages.

